Documentation — VanWeekend Trip Video Maker
The VanWeekend trip video maker turns your roadtrips into animated videos: your route drawn on a world map, your photos and videos placed in chronological order, several travel modes (road, flight, sea). This manual walks you through every feature. The free tier lets you generate your video at 1080p straight from your browser; the premium tier produces a high-quality render prepared on our servers and unlocks the full customisation.
Free version
- ✓Photo import with auto-geolocation and chronological sorting
- ✓Magic mode: the whole video tuned automatically in one click (undoable)
- ✓Four video formats (landscape, portrait, square, 4:5)
- ✓Browser-side 1080p video generation
- ✓Animated world map with vehicle (default VanWeekend van)
- ✓Road mode for every segment
- ✓Photos displayed in cards next to the map
- ✓Adaptive zoom auto-enabled on long trips (> 1000 km)
- ✓Import of destinations from the VanWeekend catalogue
- ✓Trip sharing via link
- ✓Stop reordering (move, remove, jump to start/end)
- ✓Display key stop names directly on the map
⭐ Premium version
Everything the free version offers, plus:
- ★High-quality render prepared on our servers, consistent quality, no forced footer
- ★Save your projects (up to 5 trips per account) — pick up your edit anytime, on any device
- ★Video import with synchronized audio (up to 10 s per stop)
- ★Per-segment travel modes (road, direct/flight, sea)
- ★Globe flight for plane segments
- ★30+ vehicles + per-segment override + custom image
- ★Fullscreen display for photos / videos
- ★Colour themes (presets + fully custom theme)
- ★Four map backgrounds: Standard, Relief & oceans, Satellite, Watercolor
- ★Toggleable country borders and customizable route stroke (dotted, dashed, solid, solid + halo)
- ★Custom intro and outro (image and text)
- ★Editable or removable footer
- ★Manual control of adaptive zoom (2 to 5 visible stops)
Auto-import photos and videos
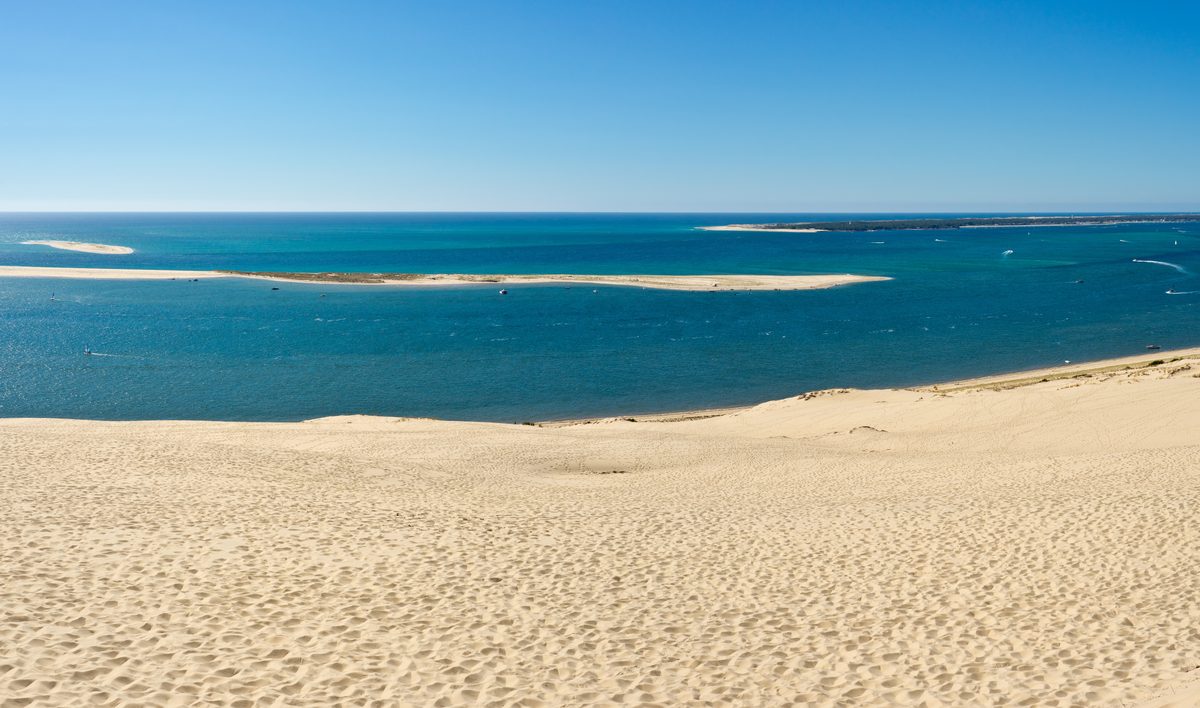
Drop your photos (and videos on the premium version) into the import area. The app reads the GPS coordinates and date saved inside each file to place every media on the map automatically and sort everything chronologically. City name and country are filled in for you.
iPhone photos (HEIC format) are supported with no extra step on your end.
Accepted formats: JPEG, PNG, HEIC/HEIF, WebP for photos; MP4, MOV, M4V, WebM for videos (video import is premium only).
Magic mode
The ✨ Magic button, sitting on the preview, tunes the whole video automatically in one click: plane and ferry legs detected, staging matched to your trip, framing and map background matched to its scale, pacing and duration under control.
Magic prepares three cuts and picks the one that suits your trip:
- Story — 60 seconds max, only the best stops are shown
- Reel — up to 3 minutes, most stops, comfortable pacing
- Film — the whole trip, no duration limit and no stop left out
One tap switches between them: each choice shows its estimated duration and how many stops it keeps.
No photo is ever deleted. To fit a short format, Magic limits how many photos each stop plays (a sample spread over the whole stop) and holds some stops back: the vehicle still drives through them, they stay on the route, only their photos are not played. It all stays adjustable stop by stop with the "Media played" setting: nothing has left your trip, just raise the number. Photos always keep enough time on screen to be looked at. A ▶ button in the panel previews the selected cut, OK keeps it, and everything can be undone in one move. After a photo or Polarsteps import, Magic runs by itself and proposes its pick.
Four video formats
Pick the format that matches your publishing destination:
- Landscape 16:9 (1920×1080) — YouTube, Twitter, widescreen playback
- Portrait 9:16 (1080×1920) — Instagram Reels, TikTok, Stories
- Square 1:1 (1080×1080) — Instagram feed
- Portrait 4:5 (1080×1350) — Instagram-optimized portrait
Map layout and photo cards adapt automatically to the chosen format.
Per-segment travel modes
In the premium version, each segment between two stops can use a different travel mode:
- Road — real driving directions
- Direct — straight line, perfect for a flight
- Sea — maritime route that avoids landmasses
Ideal for mixed trips: van + ferry, road trip + intercontinental flight. The vehicle shown on screen can also change at every segment (see Vehicle gallery).
Globe flight
A plane segment can play on the rotating Earth: the camera climbs, the planet turns to the destination, then comes back down onto the arrival — the trip's trace draws itself during the flight.
Enabled automatically on long flights; the stop's transport tab lets you turn it on or off and adjust its duration.
3D terrain flyover
A road segment can play as a 3D flyover: the camera dives from the map into a drone flight over the real terrain — mountains, valleys — the van drives along the route draped on the relief, and the trace draws itself on the ground during the flight. The dive from the 2D map and the climb back out at the end are continuously crossfaded.
Available on the relief, satellite, aquarelle and vanweekend backgrounds. The flyover is only offered where the high-resolution 3D terrain is available (Europe at launch, expanding progressively to the rest of the world). The stop's transport tab lets you enable it, optionally fly only the last kilometres before arrival, and set its duration. Premium.
Vehicle gallery
The free version uses the default VanWeekend van for the whole trip.
In the premium version, you get access to 30+ vehicles: van, car, bike, plane, boat, helicopter, etc. You pick the default vehicle, and each segment can have its own (mix van + plane + boat in the same trip — the vehicle swaps automatically at every transition).
You can also upload your own image (transparent background preferred) as a custom vehicle.
Vehicle transitions
When your trip chains several modes of transport (van → plane → boat), the swap between vehicles happens via a short anim at the moment you leave a stop.
In the ⏱ Anim settings tab, the Vehicle transition dropdown offers five styles:
-  None — instant swap
-  3D flip (default) — the vehicle spins on its vertical axis
-  Flash — the vehicle lights up then yields to the new one
-  Crossfade — discreet cross-fade
-  Smoke puff — a small cottony cloud reveals the new vehicle
Vehicle behavior
Two toggles in the 🚐 Vehicle tab:
- ↻ Follow road direction — the vehicle tilts through curves instead of staying horizontal.
- 📐 Size matches map scale — the vehicle keeps its dimension at the map's scale, like an object sitting on it. Bonus on flights: the plane approaches a bit toward mid-flight.
Adaptive zoom
For trips with huge spans (Paris → New York flight then a US road trip), a frozen framing shrinks each leg to a tiny dot. Adaptive zoom pulls the camera in and follows your progression.
Two modes in the ⏱ Anim tab:
- 🪟 By stop — the camera frames nearby stops. Trip overview.
- 🎯 Follow vehicle — the camera sticks tight on the vehicle like an embedded drone. A tightness slider sets the distance.
Auto-enables past 1000 km.
The By area mode frames each part of the trip on its region or country (your choice, or automatically): the camera stays put while you remain in the zone and only moves at borders — ideal to read a roadtrip at a glance.
Display modes: card, fullscreen or zoom
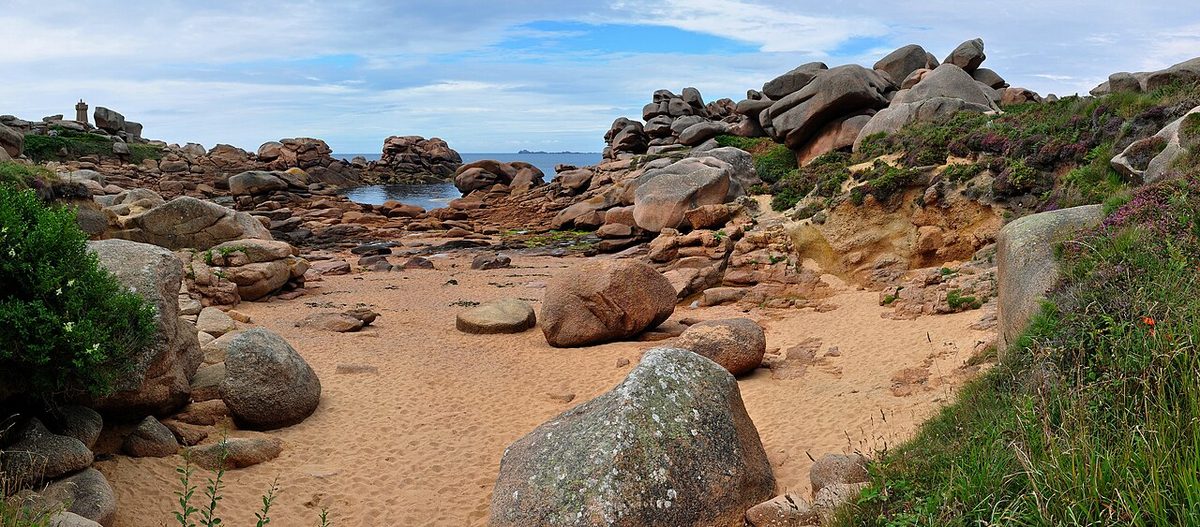
Each stop can show its media three ways:
- Card — the photo appears in a decorated card next to the map. Compact, readable. This is the mode used by default on the free version.
- Fullscreen (premium) — the photo covers the whole screen with a fade in / fade out. More cinematic, ideal for panoramic shots.
- Zoom (premium) — the photo (or video) bursts out of the stop's point on the map and grows, map and media zooming in together, until it fills the screen: a dynamic reveal that ties the memory to its place. Photos that don't fill the whole frame get clean black letterbox bars.
In the premium version, the default mode is configurable, with a per-stop override (the 🪟 / 🖥️ / 🔎 picker in the stop's media tab).
🌐 3D live effect — on a single-photo stop, this toggle brings the picture to life: the camera glides forward and a light pan reveals the depth of the scene — a subtle drone-style motion. Works in both card and fullscreen modes. An intensity slider next to the toggle (and a default in ⏱ Anim) controls how pronounced the motion is.
Photos and videos on one stop
At import time, media captured at the same place (same reverse-geocoded city, or within 500 m of each other when no name was resolved) are automatically grouped onto a single stop. Your trip stays readable on the map — instead of stacking ten dots for ten photos of the same visit, the trip shows a single stop that plays everything you shot there.
A stop plays an ordered list of media: photos, video clips, in any order and in any number. Each photo holds for the stop's display duration, each clip for its own length (10 seconds max), and the total adjusts itself in the video.
The stop's media tab shows a 1/N counter with ‹ / › arrows to walk through what got grouped, a filmstrip of thumbnails in play order (tap one to select it), a + button to add one or several files at once, a 🗑 button to remove the selected item and two ◀ / ▶ buttons to move it in the order. The tab's settings (framing, and a clip's trim and sound) apply to the selected item; the line under the filmstrip recaps what the stop plays, e.g. “3 photos · 2 clips · 21 s”.
You pick the transition between the media of one stop, photos and clips alike. A clip slides, zooms or lands as a polaroid exactly like a photo, and it starts playing at the very beginning of the transition: it is already moving while it appears, while the outgoing item keeps playing underneath until its own end. Two exceptions: 3D Ken Burns stays reserved for all-photo stops, and a clip followed by a photo always cross-fades:
-  Cross-fade (default) — the new photo dissolves over the previous one
-  Slide — the next photo glides in from the left or right, alternating
-  Zoom (Ken Burns) — each photo zooms gently while displayed; at the swap, the previous one keeps zooming as the new one appears at its baseline scale
-  3D Ken Burns — same Ken Burns motion, but each photo gains depth: the camera really pushes into the scene, and the sweep direction alternates between photos. A 3D intensity slider appears under the selector when you pick this mode.
-  Polaroid — media stack at random positions and angles like polaroids dropped on a table (a clip stays on top once played, on its last frame)
-  Flash — cross-fade with a brief white flash at the swap
-  Cut — hard switch with no transition
A default transition lives in the ⏱ Anim settings tab (premium), and each stop can override it with its own choice. The per-photo display duration also defaults to the trip-wide value but can be overridden per stop.
Video stops with synchronized audio
In the premium version, your stops can include video clips of up to 10 seconds each. You pick the start and duration to use, and the audio mixes in automatically at the right moment in the final video.
A stop isn't limited to one clip: you can chain several of them, on their own or interleaved with photos, in whatever order you like (see “Photos and videos on one stop”). Each clip keeps its own trim, its own volume and its own framing. Two consecutive clips cross-fade — picture and sound — instead of cutting hard.
Great for inserting a drone shot, a time-lapse, or simply adding ambient sound at a key moment of the trip.
Colour themes
In the premium version, you pick the colour palette for your video: several presets are provided (forest, ocean, desert, etc.) and the theme drives the main colour (visited countries, gradients), the accent (route, waypoint dots), the background and the text.
Going further: build a fully custom theme via four colour pickers. Great for matching your branding or a specific aesthetic.
Customize the map
Both the map background and the route stroke can be customized in the premium version to match the mood of your video:
- Map background — four styles to choose from: Standard (countries shaded by your theme, clean and readable), Relief & oceans (physical map with shaded relief, real ocean depths, rivers, borders and city names — perfect for exotic or mountainous trips, and it stays detailed even when zoomed in close), Satellite (NASA Blue Marble true-color imagery, dramatic and photographic, ideal for long-haul flights or intercontinental trips), Watercolor (soft pastel relief with no text or borders at all, great for a more illustrated vibe).
- Country borders — toggle country outlines on or off depending on the look you want.
- Route style — four presets for the trip line: Dotted (thin and discreet, default), Dashed (more visible), Solid (continuous minimalist line), Solid + halo (continuous line over a semi-transparent dark halo, ideal on busy backgrounds where terrain detail can swallow a thin stroke).
The preview updates instantly with every change.
Show stop names on the map
Below each stop's name, a 🏷️ Show name on the map checkbox draws the name next to its dot during the video. The marker appears as soon as the vehicle leaves the previous stop — the destination is announced for the whole drive, not only on arrival — and stays visible afterwards. Pass-through waypoints don't count: on a Paris → Alps flyover (no stop) → Turin run, Turin's marker shows up as you leave Paris.
You opt in stop by stop: label your main destinations while keeping intermediate stops (lunch break, gas stop, etc.) anonymous. Works on the free and premium tiers, on every map background. The text is drawn with a white halo so it stays readable even on busy backgrounds (satellite, relief).
On premium, the 📍 Marker style setting (Advanced settings) changes how those markers look for the whole video: Dot (the historical gold dot with the name underneath), Pin (a map pin whose tip lands on the coordinates) or Town sign (a French town-entry panel — white plate, red border, short pole). Stops without a displayed name keep the plain dot in all three styles.
Voice-over — automatic narration
Toggle 🔊 Read description aloud on any stop to have its description spoken when the vehicle reaches it. Narration carries on through the following leg until the next voice-over interrupts it — you can drop a stop with no photo or video at all, just to slip a piece of narration in at the right place.
In the ⏱ Anim settings tab, the Narration voice dropdown ships neural-quality voices in six languages: French, English, Italian, Spanish, German, Portuguese. The default voice matches the editor's language, and you can mix languages — narrate the trip in English but use an Italian voice for the Rome leg, say.
The final video always uses a high-quality Microsoft Neural voice; the in-browser preview depends on your system's speech engine and may sound more robotic.
Earth-zoom intro
Turn on 🌍 Globe intro in the ⏱ Anim settings tab to add, right after the intro image, a 3D sequence: the Earth spins on its axis and the camera dives onto the trip's first stop. At the landing the globe cross-fades into the 2D map at the exact framing the video opens on — the transition is invisible, the eye thinks it's looking at the same world, just closer.
Duration is set via the slider (4 s by default) and adds to the regular intro length. The map background you picked (Standard, Relief, Satellite, Watercolor) is wrapped on the globe too, and visited countries keep your theme's accent fill. The vehicle and the first step's name appear at their position, sized exactly as they will be in the rest of the video.
Intro, outro, footer
Three areas frame the video:
- Intro — an opening screen with a logo that fades into the map
- Outro — a closing screen with text
- Footer — text displayed throughout the video
The free version uses defaults (VanWeekend logo for intro and outro, "VanWeekend.fr" footer text). The premium version unlocks full customisation: upload your own logo or illustration for intro and outro, edit or remove the footer.
The outro can also show your trip statistics: the full route map followed by animated counters — kilometres travelled, countries crossed, steps, and days when the photo dates are known.
High-quality render
The free version lets you generate your video at 1080p directly from your browser. Quality depends on your device's resources, and the "VanWeekend.fr" footer is rendered throughout (not editable on the free version).
The premium version prepares your video on our servers: consistent high quality, identical for everyone regardless of hardware, and the full customisation surface is unlocked — editable or removable footer, custom themes, custom intro/outro, per-segment travel modes and vehicles, fullscreen mode, video stops with audio, etc.
Generation typically takes a few minutes. You receive an email with the download link as soon as it's ready. The file stays available for 7 days after rendering, or up to 30 days past your account's expiry.
Passes: 24 hours (€1), 1 month (€3), 1 year (€10). One-shot purchase, no subscription, no auto-renewal.
Import a VanWeekend destination
If you went to a destination from the VanWeekend catalogue (e.g. Bassin d'Arcachon or Pays Basque), the "Import a VanWeekend destination" option adds every geolocated stop from that destination in one click.
Useful for kickstarting your edit with a real itinerary backbone before adding your own photos and videos. Stops can then be reordered, removed, or enriched.
Import a Polarsteps trip
Paste the link of your Polarsteps trip (public, or shared by link) and the editor rebuilds your whole travel log in one go: every step with its name, position, date, notes and up to four photos.
Your steps arrive geolocated and chronologically sorted — all that's left is pressing play.
- Works with public trips or trips shared by link (the URL with "?s=…"). Private trips without a share link are not accessible.
- Your photos and notes remain yours: the import acts on your behalf, exactly as if you added them by hand.
- VanVideo is not affiliated with Polarsteps; this bridge is provided as-is and may stop working if their service changes.
Import an iCloud shared album
Ideal from an iPhone: instead of picking your photos and videos one by one (the iPhone then has to prepare each one, which is slow for large videos), create a shared album in the Photos app, turn on its public link, and paste that link in the same field as Polarsteps.
The editor pulls every media from the album, places your photos on the map using their saved location and sorts everything by date — just like a regular photo import.
- In Photos: select your media → Add to a Shared Album, then in the album → People → enable Public Website, and copy the link.
- Works from a computer too, even without the photos on the machine: the link is enough.
- Album videos arrive at 720p (the shared-preview quality iCloud imposes) and without a location — they still need placing.
- VanVideo is not affiliated with Apple; this bridge is provided as-is and may stop working if the iCloud service changes.
Save a trip
In the premium version, you can save your current trip and pick up your edit later, from any device. Photos, videos, stops, theme and all settings are kept together.
The controls live in the 📁 Project settings tab:
- 🆕 New — start from a blank project
- 💾 Save — store your trip (or update the current one). A progress bar appears while uploading.
- 📂 My trips — lists your saved trips with a thumbnail and last-modified date
You can save up to 5 trips per account. To free a slot, click the 🗑 icon to the right of a trip in the list — deletion is permanent and the slot becomes available immediately.
Every media keeps its original filename (e.g. `IMG_1234.MP4`), shown under its preview. Useful if you want to find the source file back on your device to re-import or replace it.
Per-file size limit: 300 MB. Larger files stay usable locally (you can still generate the browser video), but they're not kept in the save — the list of affected files is shown after the save completes. Trim oversized clips before importing them.
Saved trips remain available for 30 days past your premium account's expiry, giving you time to extend your pass if you want to keep editing.
Reorder stops
On mobile, the floating pill on the right edge of the screen opens a vertical timeline of all stops (one thumbnail per stop). Long-press a thumbnail and drag it to its new position. The pill also shows the current stop's number (`3/15`).
The `‹ ›` arrows around the pill jump to the previous/next stop without opening the timeline.
On desktop, each stop row still has four arrows to reorder:
- ▲ ▼ — move one step up or down
- ⏫ ⏬ — jump straight to the start or end of the trip
When a stop is nested in a group (VW import), the arrow detaches it from the group when it crosses the boundary. Whole groups can also be moved or removed in one click.